Fingerless gloves are all the rage, it seems. My daughters can't seem to get enough pairs, and are always asking for more. I wanted to challenge myself a little bit, so this is a design I worked up after their latest request.

Cabled Mitts
Hook size G
Worsted weight yarn
Right Hand
Ch 30 join with a sl st being careful not to twist the chain
R1 Ch 2 (count as a dc now and throughout), dc in next ch and in each ch around , join with a sl st
R2 Ch 2, dc 11, fpdc (front post double chain) around next 2 dc, dc 2 , fpdc around next 2 dc, dc 12, join with a sl st
R3 Ch 2, dc 11, skip the next 4 sts, work fptrch (front post triple chain) around the next 2 sts,. Ch 2, Working behind the 2 previous stitches work 2 fptrch around the 2 skipped fpdc’s. Skip back to the other side of the cable twist, dc 12, join with a sl st
R4 Ch 2, dc 11, fpdc around next 2 sts, dc 2 in ch 2 space, fpdc around next 2 sts, dc 12, join with a sl st
R5 Ch 2, dc 11, fpdc around next 2 sts, dc 2, fpdc around next 2 sts, dc 12, join with a sl st
R6 Ch 2, dc 11, skip the next 4 sts, work fptrch around the next 2 sts,. Ch 2, Working behind the 2 previous stitches work 2 fptrch around the 2 skipped fpdc’s. Skip back to the other side of the cable twist, dc 12, join with a sl st
R7 Ch 2, dc 11, fpdc around next 2 sts, dc 2 in ch 2 space, fpdc around next 2 sts, dc 12, join with a sl st
R8 Ch 2, decrease next 2 sts together, dc 9, fpdc around next 2 sts, dc 2, fpdc around next 2 sts, dc 9, decrease next 2 sts together, dc in last dc, join with a sl st
R9 Ch 2, dc 10, skip the next 4 sts, work fptrch around the next 2 sts,. Ch 2, Working behind the 2 previous stitches work 2 fptrch around the 2 skipped fpdc’s. Skip back to the other side of the cable twist, dc 11, join with a sl st
R10 Ch 2, decrease next 2 sts together, dc 8, fpdc around next 2 sts, dc 2 in ch 2 space, fpdc around next 2 sts, dc 8, decrease next 2 sts together, dc in last dc, join with a sl st
R11 Ch 2, dc 9, fpdc around next 2 sts, dc 2, fpdc around next 2 sts, dc 10, join with a sl st
R12 Ch 2, dc 9, skip the next 4 sts, work fptrch around the next 2 sts,. Ch 2, Working behind the 2 previous stitches work 2 fptrch around the 2 skipped fpdc’s. Skip back to the other side of the cable twist, dc 10, join with a sl st
R13 Ch 2, dc 9, fpdc around next 2 sts, dc 2 in ch 2 space, fpdc around next 2 sts, dc 10, join with a sl st
R14 Ch 2, dc 9, fpdc around next 2 sts, dc 2, fpdc around next 2 sts, dc 10, join with a sl st
R15 Ch 2, dc 9, skip the next 4 sts, work fptrch around the next 2 sts,. Ch 2, Working behind the 2 previous stitches work 2 fptrch around the 2 skipped fpdc’s. Skip back to the other side of the cable twist, dc 4, (2dc in next st)twice, dc 4, join with a sl st
R16 Ch 2, dc 9, fpdc around next 2 sts, dc 2 in ch 2 space, fpdc around next 2 sts, dc 4, ch 4, dc 4, join with a sl st
R17 Ch 2, dc 9, fpdc around next 2 sts, dc 2, fpdc around next 2 sts, dc 4, dc 4 in ch 4 space, dc 4, join with a sl st
R18 Ch 2, dc 9, skip the next 4 sts, work fptrch around the next 2 sts,. Ch 2, Working behind the 2 previous stitches work 2 fptrch around the 2 skipped fpdc’s. Skip back to the other side of the cable twist, dc 4, (decrease next 2 sts together)twice, dc 4, join with a sl st
R19 Ch 2, dc 9, fpdc around next 2 sts, dc 2 in ch 2 space, fpdc around next 2 sts, dc 10, join with a sl st
R20 Ch1, work sc’s around, bind off and weave in ends.
Left Hand
Ch 30 join with a sl st being careful not to twist the chain
R1 Ch 2, dc in next ch and in each ch around , join with a sl st
R2 Ch 2, dc 11, fpdc (front post double crochet) around next 2 dc, dc 2 , fpdc around next 2 dc, dc 12, join with a sl st
R3 Ch 2, dc 11, skip the next 4 sts, work fptrch (front post triple chain) around the next 2 sts,. Ch 2, Working in front of the 2 previous stitches work 2 fptrch around the 2 skipped fpdc’s. Skip back to the other side of the cable twist, dc 12, join with a sl st
R4 Ch 2, dc 11, fpdc around next 2 sts, dc 2 in ch 2 space, fpdc around next 2 sts, dc 12, join with a sl st
R5 Ch 2, dc 11, fpdc around next 2 sts, dc 2, fpdc around next 2 sts, dc 12, join with a sl st
R6 Ch 2, dc 11, skip the next 4 sts, work fptrch around the next 2 sts,. Ch 2, Working in front of the 2 previous stitches work 2 fptrch around the 2 skipped fpdc’s. Skip back to the other side of the cable twist, dc 12, join with a sl st
R7 Ch 2, dc 11, fpdc around next 2 sts, dc 2 in ch 2 space, fpdc around next 2 sts, dc 12, join with a sl st
R8 Ch 2, decrease next 2 sts together, dc 9, fpdc around next 2 sts, dc 2, fpdc around next 2 sts, dc 9, decrease next 2 sts together, dc in last dc, join with a sl st
R9 Ch 2, dc 10, skip the next 4 sts, work fptrch around the next 2 sts,. Ch 2, Working in front of the 2 previous stitches work 2 fptrch around the 2 skipped fpdc’s. Skip back to the other side of the cable twist, dc 11, join with a sl st
R10 Ch 2, decrease next 2 sts together, dc 8, fpdc around next 2 sts, dc 2 in ch 2 space, fpdc around next 2 sts, dc 8, decrease next 2 sts together, dc in last dc, join with a sl st
R11 Ch 2, dc 9, fpdc around next 2 sts, dc 2, fpdc around next 2 sts, dc 10, join with a sl st
R12 Ch 2, dc 9, skip the next 4 sts, work fptrch around the next 2 sts,. Ch 2, Working in front of the 2 previous stitches work 2 fptrch around the 2 skipped fpdc’s. Skip back to the other side of the cable twist, dc 10, join with a sl st
R13 Ch 2, dc 9, fpdc around next 2 sts, dc 2 in ch 2 space, fpdc around next 2 sts, dc 10, join with a sl st
R14 Ch 2, dc 9, fpdc around next 2 sts, dc 2, fpdc around next 2 sts, dc 10, join with a sl st
R15 Ch 2, dc 3, (2dc in next st)twice, dc 4, skip the next 4 sts, work fptrch around the next 2 sts, Ch 2, Working in front of the 2 previous stitches work 2 fptrch around the 2 skipped fpdc’s. Skip back to the other side of the cable twist, dc 9, join with a sl st
R16 Ch 2, dc 3, ch 4, dc 4, fpdc around next 2 sts, dc 2 in ch 2 space, fpdc around next 2 sts, dc 9, join with a sl st
R17 Ch 2, dc 3, dc 4 in ch 4 space, dc 4,fpdc around next 2 sts, dc 2, fpdc around next 2 sts, dc 9, join with a sl st
R18 Ch 2, dc 9, skip the next 4 sts, work fptrch around the next 2 sts,. Ch 2, Working in front of the 2 previous stitches work 2 fptrch around the 2 skipped fpdc’s. Skip back to the other side of the cable twist, dc 4, (decrease next 2 sts together)twice, dc 4, join with a sl st
R19 Ch 2, dc 9, fpdc around next 2 sts, dc 2 in ch 2 space, fpdc around next 2 sts, dc 10, join with a sl st
R20 Ch1, work sc’s around, bind off and weave in ends.


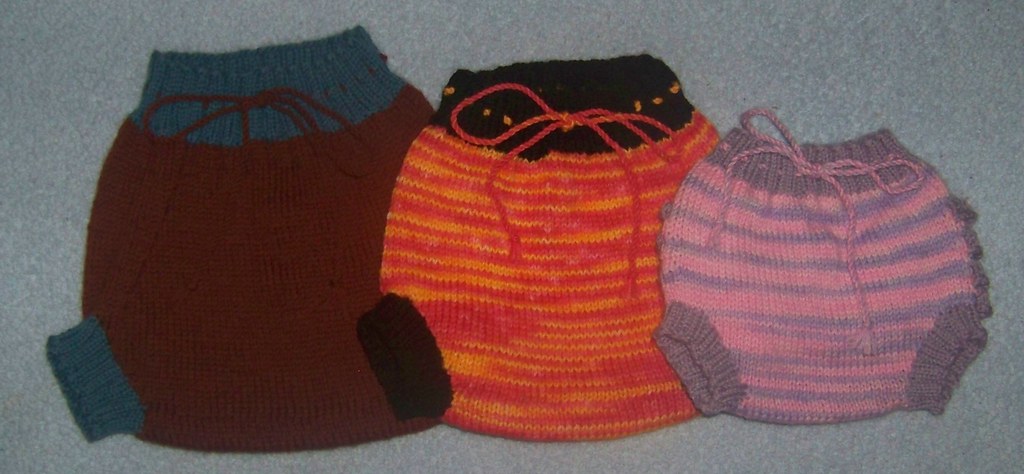
some suggested supplies for this projest:
Pin It

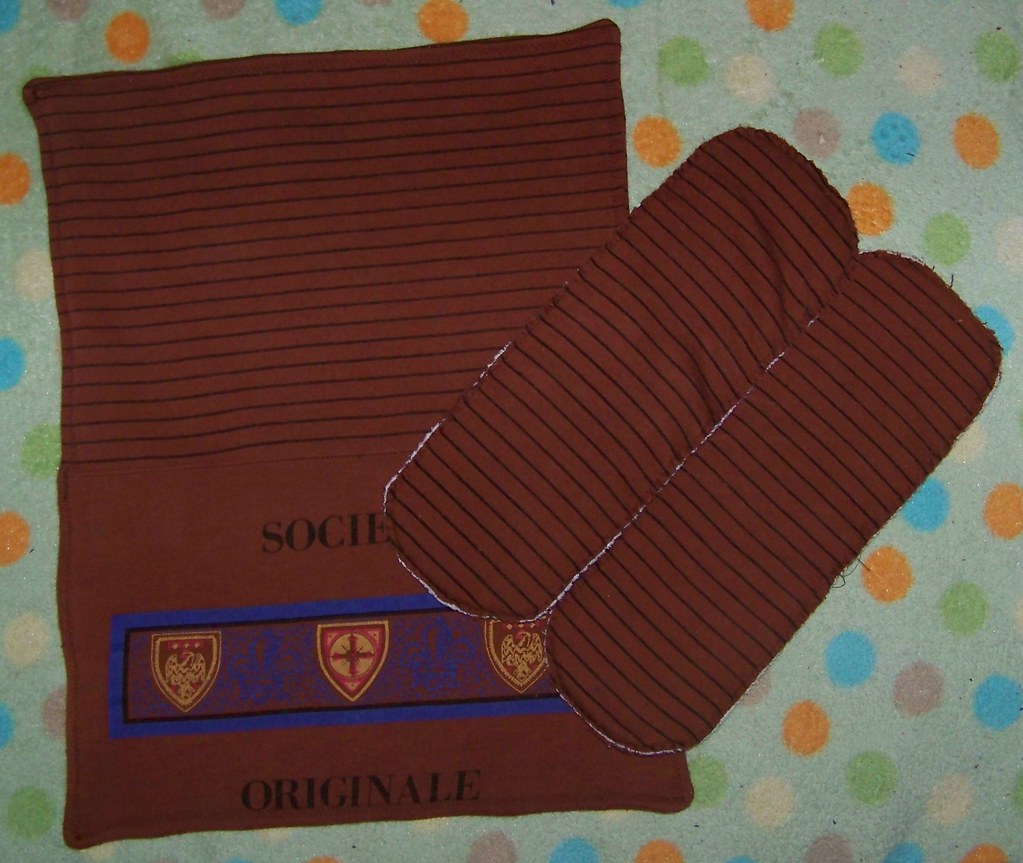
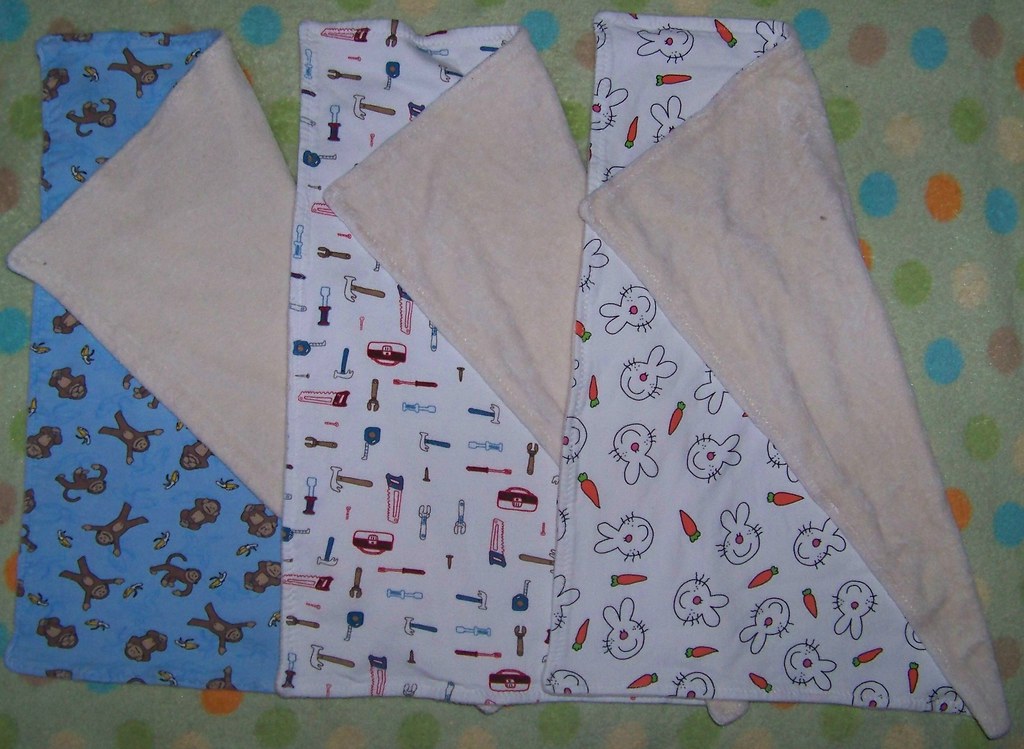
 Recycled sweatshirt preflat diapers and doublers.


