Friday, February 27, 2009

Cabled Mitts

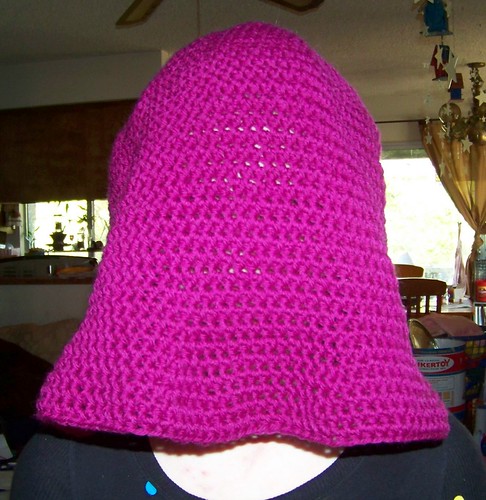
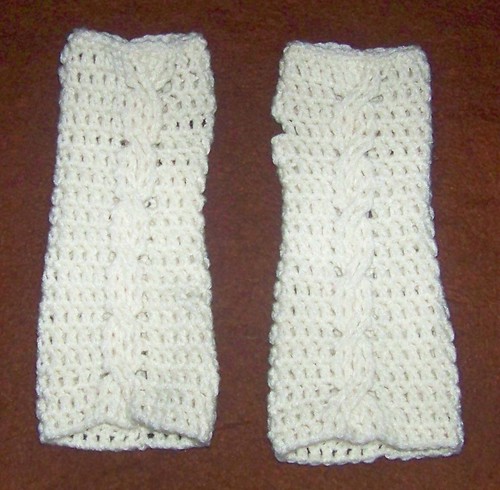
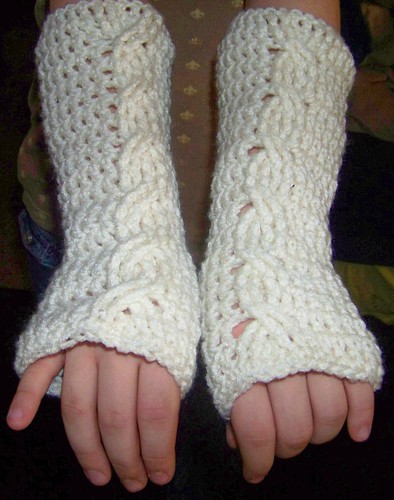
Fingerless gloves are all the rage, it seems. My daughters can't seem to get enough pairs, and are always asking for more. I wanted to challenge myself a little bit, so this is a design I worked up after their latest request.

100_0231

Cabled Mitts
Hook size G
Worsted weight yarn

Right Hand

Ch 30 join with a sl st being careful not to twist the chain
R1 Ch 2 (count as a dc now and throughout), dc in next ch and in each ch around , join with a sl st
R2 Ch 2, dc 11, fpdc (front post double chain) around next 2 dc, dc 2 , fpdc around next 2 dc, dc 12, join with a sl st
R3 Ch 2, dc 11, skip the next 4 sts, work fptrch (front post triple chain) around the next 2 sts,. Ch 2, Working behind the 2 previous stitches work 2 fptrch around the 2 skipped fpdc’s. Skip back to the other side of the cable twist, dc 12, join with a sl st
R4 Ch 2, dc 11, fpdc around next 2 sts, dc 2 in ch 2 space, fpdc around next 2 sts, dc 12, join with a sl st
R5 Ch 2, dc 11, fpdc around next 2 sts, dc 2, fpdc around next 2 sts, dc 12, join with a sl st
R6 Ch 2, dc 11, skip the next 4 sts, work fptrch around the next 2 sts,. Ch 2, Working behind the 2 previous stitches work 2 fptrch around the 2 skipped fpdc’s. Skip back to the other side of the cable twist, dc 12, join with a sl st
R7 Ch 2, dc 11, fpdc around next 2 sts, dc 2 in ch 2 space, fpdc around next 2 sts, dc 12, join with a sl st
R8 Ch 2, decrease next 2 sts together, dc 9, fpdc around next 2 sts, dc 2, fpdc around next 2 sts, dc 9, decrease next 2 sts together, dc in last dc, join with a sl st
R9 Ch 2, dc 10, skip the next 4 sts, work fptrch around the next 2 sts,. Ch 2, Working behind the 2 previous stitches work 2 fptrch around the 2 skipped fpdc’s. Skip back to the other side of the cable twist, dc 11, join with a sl st
R10 Ch 2, decrease next 2 sts together, dc 8, fpdc around next 2 sts, dc 2 in ch 2 space, fpdc around next 2 sts, dc 8, decrease next 2 sts together, dc in last dc, join with a sl st
R11 Ch 2, dc 9, fpdc around next 2 sts, dc 2, fpdc around next 2 sts, dc 10, join with a sl st
R12 Ch 2, dc 9, skip the next 4 sts, work fptrch around the next 2 sts,. Ch 2, Working behind the 2 previous stitches work 2 fptrch around the 2 skipped fpdc’s. Skip back to the other side of the cable twist, dc 10, join with a sl st
R13 Ch 2, dc 9, fpdc around next 2 sts, dc 2 in ch 2 space, fpdc around next 2 sts, dc 10, join with a sl st
R14 Ch 2, dc 9, fpdc around next 2 sts, dc 2, fpdc around next 2 sts, dc 10, join with a sl st
R15 Ch 2, dc 9, skip the next 4 sts, work fptrch around the next 2 sts,. Ch 2, Working behind the 2 previous stitches work 2 fptrch around the 2 skipped fpdc’s. Skip back to the other side of the cable twist, dc 4, (2dc in next st)twice, dc 4, join with a sl st
R16 Ch 2, dc 9, fpdc around next 2 sts, dc 2 in ch 2 space, fpdc around next 2 sts, dc 4, ch 4, dc 4, join with a sl st
R17 Ch 2, dc 9, fpdc around next 2 sts, dc 2, fpdc around next 2 sts, dc 4, dc 4 in ch 4 space, dc 4, join with a sl st
R18 Ch 2, dc 9, skip the next 4 sts, work fptrch around the next 2 sts,. Ch 2, Working behind the 2 previous stitches work 2 fptrch around the 2 skipped fpdc’s. Skip back to the other side of the cable twist, dc 4, (decrease next 2 sts together)twice, dc 4, join with a sl st
R19 Ch 2, dc 9, fpdc around next 2 sts, dc 2 in ch 2 space, fpdc around next 2 sts, dc 10, join with a sl st
R20 Ch1, work sc’s around, bind off and weave in ends.

Left Hand

Ch 30 join with a sl st being careful not to twist the chain
R1 Ch 2, dc in next ch and in each ch around , join with a sl st
R2 Ch 2, dc 11, fpdc (front post double crochet) around next 2 dc, dc 2 , fpdc around next 2 dc, dc 12, join with a sl st
R3 Ch 2, dc 11, skip the next 4 sts, work fptrch (front post triple chain) around the next 2 sts,. Ch 2, Working in front of the 2 previous stitches work 2 fptrch around the 2 skipped fpdc’s. Skip back to the other side of the cable twist, dc 12, join with a sl st
R4 Ch 2, dc 11, fpdc around next 2 sts, dc 2 in ch 2 space, fpdc around next 2 sts, dc 12, join with a sl st
R5 Ch 2, dc 11, fpdc around next 2 sts, dc 2, fpdc around next 2 sts, dc 12, join with a sl st
R6 Ch 2, dc 11, skip the next 4 sts, work fptrch around the next 2 sts,. Ch 2, Working in front of the 2 previous stitches work 2 fptrch around the 2 skipped fpdc’s. Skip back to the other side of the cable twist, dc 12, join with a sl st
R7 Ch 2, dc 11, fpdc around next 2 sts, dc 2 in ch 2 space, fpdc around next 2 sts, dc 12, join with a sl st
R8 Ch 2, decrease next 2 sts together, dc 9, fpdc around next 2 sts, dc 2, fpdc around next 2 sts, dc 9, decrease next 2 sts together, dc in last dc, join with a sl st
R9 Ch 2, dc 10, skip the next 4 sts, work fptrch around the next 2 sts,. Ch 2, Working in front of the 2 previous stitches work 2 fptrch around the 2 skipped fpdc’s. Skip back to the other side of the cable twist, dc 11, join with a sl st
R10 Ch 2, decrease next 2 sts together, dc 8, fpdc around next 2 sts, dc 2 in ch 2 space, fpdc around next 2 sts, dc 8, decrease next 2 sts together, dc in last dc, join with a sl st
R11 Ch 2, dc 9, fpdc around next 2 sts, dc 2, fpdc around next 2 sts, dc 10, join with a sl st
R12 Ch 2, dc 9, skip the next 4 sts, work fptrch around the next 2 sts,. Ch 2, Working in front of the 2 previous stitches work 2 fptrch around the 2 skipped fpdc’s. Skip back to the other side of the cable twist, dc 10, join with a sl st
R13 Ch 2, dc 9, fpdc around next 2 sts, dc 2 in ch 2 space, fpdc around next 2 sts, dc 10, join with a sl st
R14 Ch 2, dc 9, fpdc around next 2 sts, dc 2, fpdc around next 2 sts, dc 10, join with a sl st
R15 Ch 2, dc 3, (2dc in next st)twice, dc 4, skip the next 4 sts, work fptrch around the next 2 sts, Ch 2, Working in front of the 2 previous stitches work 2 fptrch around the 2 skipped fpdc’s. Skip back to the other side of the cable twist, dc 9, join with a sl st
R16 Ch 2, dc 3, ch 4, dc 4, fpdc around next 2 sts, dc 2 in ch 2 space, fpdc around next 2 sts, dc 9, join with a sl st
R17 Ch 2, dc 3, dc 4 in ch 4 space, dc 4,fpdc around next 2 sts, dc 2, fpdc around next 2 sts, dc 9, join with a sl st
R18 Ch 2, dc 9, skip the next 4 sts, work fptrch around the next 2 sts,. Ch 2, Working in front of the 2 previous stitches work 2 fptrch around the 2 skipped fpdc’s. Skip back to the other side of the cable twist, dc 4, (decrease next 2 sts together)twice, dc 4, join with a sl st
R19 Ch 2, dc 9, fpdc around next 2 sts, dc 2 in ch 2 space, fpdc around next 2 sts, dc 10, join with a sl st
R20 Ch1, work sc’s around, bind off and weave in ends.

100_0232

100_0234

some suggested supplies for this projest:
Pin It

From Pimp Daddy Felted Fuschia Fedora to...Willy Wonka!

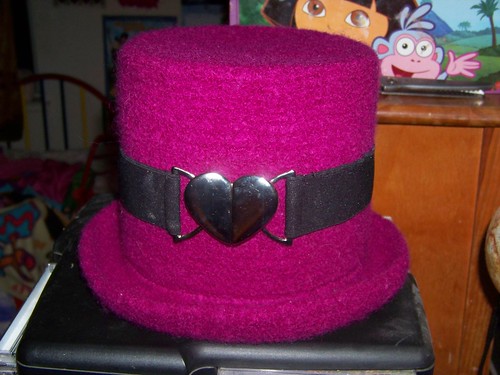
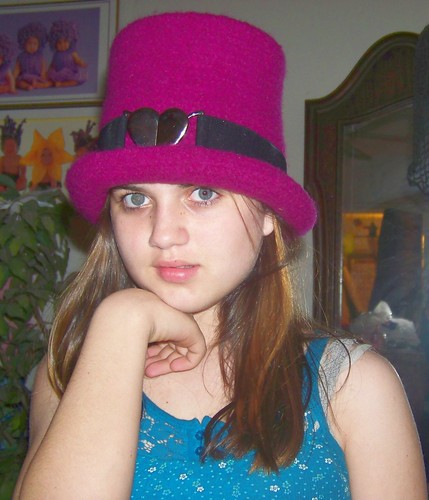
My eldest daughter wanted a hat...she browsed through Ravelry with me and we came across this pattern for a Pimp Daddy Felted Fuschia Fedora. She really didn't want a fedora, though...she wanted a hat like Willy Wonka (!!!), so after felting it, we formed it over a large coffee can and set it over a heater vent to dry.

before felting...
100_0210

and after(the heart buckle belt was Kayla's addition)...
100_0226

and in action on my beautiful dd...
100_0228 Pin It

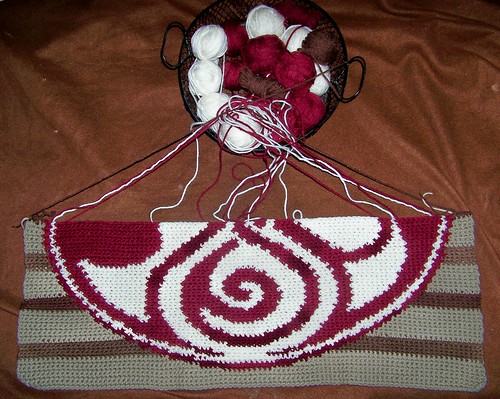
More progress on the Blanket of Rassilon!

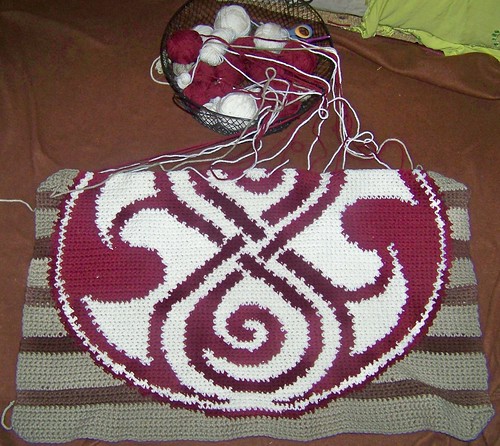
Gosh this is turning out so nicely, if I do say so myself! Already a fan of knotwork designs (truely I adore knotwork designs...I find them fascinating), the fact that this one is from one of my favorite sci-fi tv programs of all time totally tickles my inner geek, LOL.

Here is what I have done so far...

100_0230 Pin It

Thursday, February 19, 2009

Progress on the Blanket of Rassilon!

I really have to concentrate on the chart and the action of the yarn, but this is going a lot faster than I had thought it would. I am almost 1/2 way done with the seal motif. I haven't quite decided how I am going to edge it...I'm thinking just rounds of sc squared at the corners...worked I suppose until I decide it is 'just right' LOL. The great thing about the chart, though is that I will be able to use it for other crafts...it will be great for knit, for cross-stitch and needlepoint...I may even have to give Tunisian intarsia crochet a shot, LOL.

blanketofrassilonhalfdone Pin It

Monday, February 16, 2009

The (crochet) Blanket of Rassilon

Another Doctor Who inspired project...still in progress. I have never done this type of colorwork in crochet before, so the first few rows of the seal were trial and error. I think I have the technique down now, and it is going really smoothly.

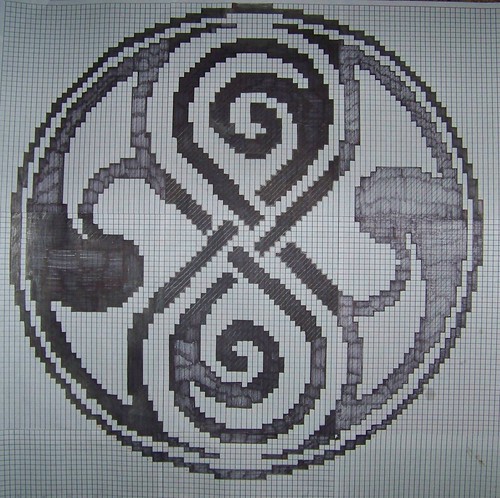
I took the Seal of Rassilon image and charted it out on graph paper...(my sharpie died on me, so the coloring isn't the best, LOL)

rasillongraph

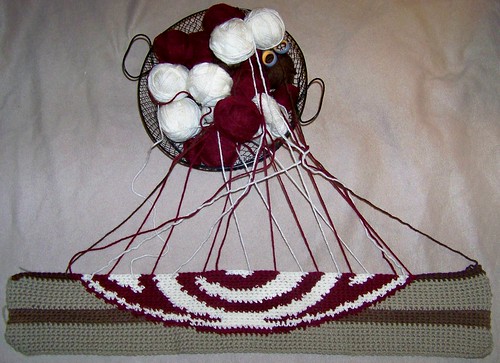
The work in progress...I have 20 active balls of yarn going right now!!

100_0140
I'm using worsted weight yarns and an H hook...
Yarns in colorways...Caron One Pound in Taupe; Red Heart Ltd. Super Saver Solids in Claret; Red Heart Ltd. Super Saver Solids in Aran; TLC Essentials Solid in Dark Brown; TLC Heathers in Nutmeg.

Updates to follow as it progresses!!


COLOR CHANGING TIPS!!!(THIS IS FOR SINGLE CROCHET)

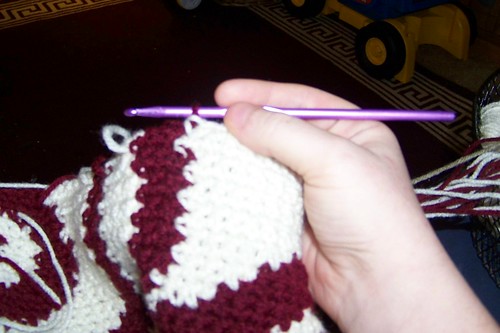
colorchangeinnextst
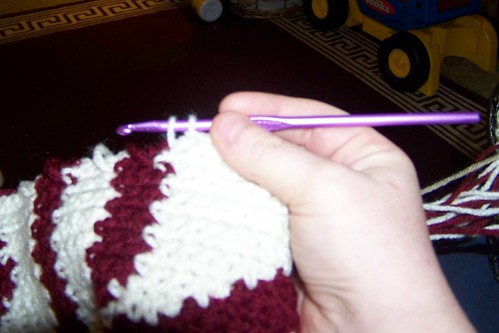
1>>>The color change happens in the next stitch...

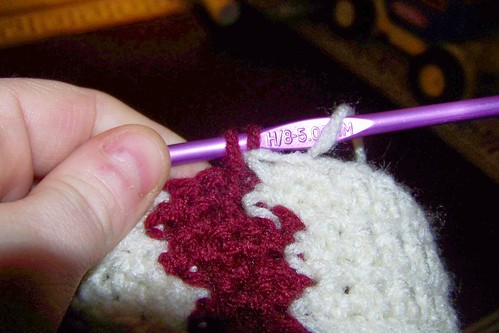
colorchangepullupnewcolor1
2>>>drop old color behind work. Pull up the new color from the yarn hanging in front...

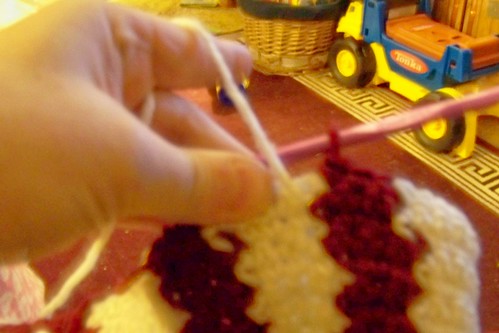
colorchangeworkstitchinnewcolor
3>>>insert your hook under the "tail" of the new color, through both top bars of the stitch to be worked, yarn over, and pull up a loop of the new color...this completely anchors the "tail"...finish stitch.

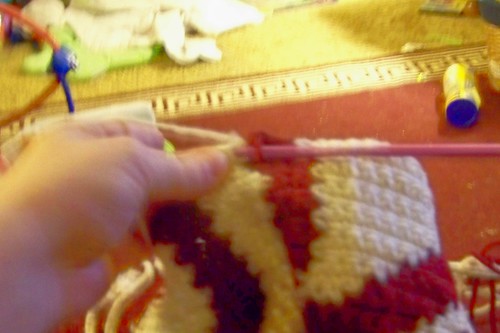
colorchange2stitchesaway
4>>>take into account the action going on in the old row and the new row...when you come to a color change in the old row, but you still need to work stitches in an active color...

colorchangeanchortail2sts
5>>>slip the yarn from the upcoming color behind your hook, insert your hook into the next stitch...

colorchangepullupoldcolor
6>>>pull up the old color and work the stitch, continuing working over the "new" color yarn until you come to the stitch where it will be needed, then follow steps one through three.

Now if you have a color change that comes before the change in the old row, you will follow the same basic steps, anchoring your 'tail' before pulling up the old color loop, and finishing the stitch with the new color.

I hope to have a video of this technique very soon, as it is sort of difficult to explain in words! Pin It

Sunday, February 15, 2009

Spiraled Crochet Wool Ball

This ball was inspired by a conversation about the dryer balls below...this design may work for dryer balls if stuffed solidly enough...they didn't turn out quite like I had in my head (I think for the effect I was trying to go for, I may need to go to knitted instead...stay tuned ;)), but is still super cute, and my son is enjoying a new all natural toy!

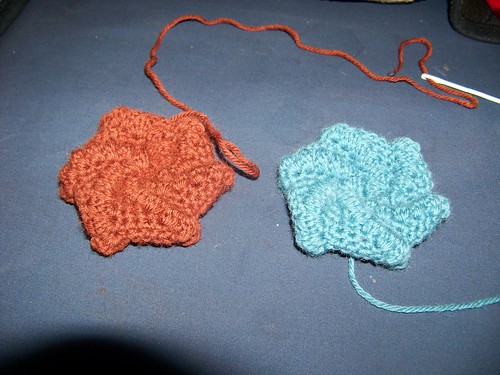
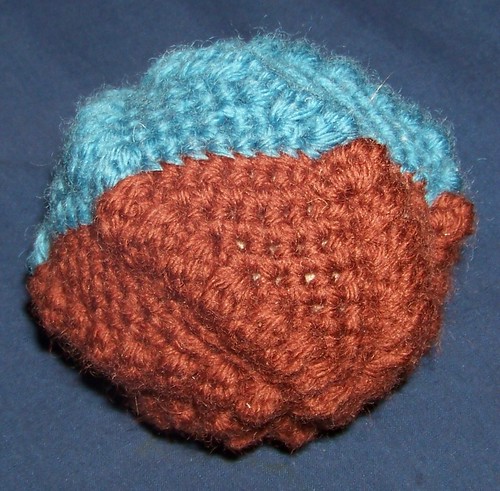
Each ball is worked in two panels that are then whip stitched together and stuffed.
Hook: G
yarn: Worsted Weight wool...example uses Knit Picks wool of the Andes in Maple Syrup and Williamsburg

Special stitch: Double Crochet Puff...yarn over, insert hook, yarn over, pull up a loop, yo and pull through 2 loops on hook (2 loops remain)yarn over, insert hook, yarn over, pull up a loop, yo and pull through 2 loops on hook (3 loops remain), yarn over, insert hook, yarn over, pull up a loop, yo and pull through 2 loops on hook (4 loops remain), yarn over, insert hook, yarnover, pull up a loop, yo and pull through 2 loops on hook, (5 loops reamin), yarn over and pull through all 5 loops on hook...puff created (the single chain or slip stitch that follows each puff in the pattern will make it 'pop'.)

R1 Chain 2, and work 6 sc's in the second chain from hook, join with a slip stitch in the first sc
R2 Ch1, (sc, work puff) around, join with a slip stitch in the first sc
R3 Ch 1, *(sc, puff) in next st*, sc in next st, repeat ** around, join with a slip stitch in the first sc.
R4 Ch 1, *(sc, work puff) in next st*, sc in next 2 sts, repeat ** around, join with a slip stitch in the first sc.
R5 Ch 1, *(sc, work puff) in next st*, sc in next 3 sts, repeat ** around, join with a slip stitch in the first sc.
R6 Ch 1, *(sc, work puff) in next st*, sc in next 4 sts, repeat ** around, join with a slip stitch in the first sc.
R7 Ch 1, *(sc, work puff) in next st*, sc in next 5 sts, repeat ** around, join with a slip stitch in the first sc.
R8 Ch 1, *(sc, work puff) in next st*, sc in next 6 sts, repeat ** around, join with a slip stitch in the first sc.
R9 Ch 1, *(sc, work puff) in next st*, sc in next 7 sts, repeat ** around, join with a slip stitch in the first sc.
R10 Ch 1, *(sc, work puff) in next st*, sc in next 8 sts, repeat ** around, join with a slip stitch in the first sc.
Bind off

Repeat for other half.

100_0104

Line up the puffs of each half and whip stitch around, leaving an opening for stuffing, stuff as desired, then whip closed. (Example was moderately stuffed with organic cotton, but you can use polyfil, batting, wool roving, or a ball of yarn to stuff)

100_0115

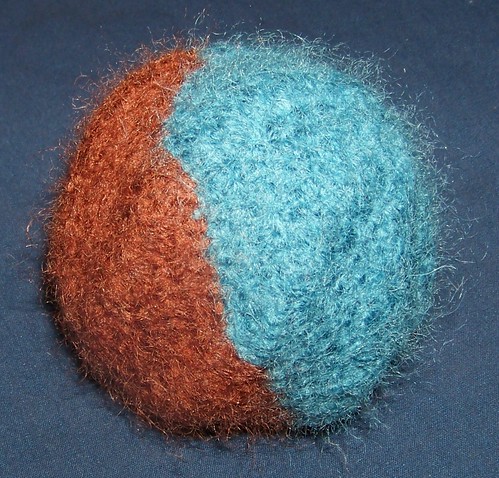
The ball is now finished...at this point you can leave it as is, or you can felt it.

I felted this one by hand, as I wanted to be able to control the rate of felting and make sure that the swirls created by the puffs were maintained.

100_0116

Use as desired...a dryer ball, a juggling ball, or a fun and safe baby toy :) Pin It

Wednesday, February 4, 2009

Wooly dryer balls!

Fed up with the rubber odor of the store-bought dryer balls I had been using, I decided to make some wooly felted ones.

Step one...the core...I wound a ball of scrap acrylic until it was about 7 1/2-8 inches in circumference.
000_1120

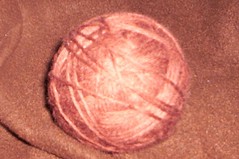
Step two...winding the wool...I chose to use Knit Picks Wool of the Andes, as if felts up so nicely, but you can use any non-superwash wool. Each ball takes about 50 yards. Wind the wool yarn snugly around the core ball so that all of the core is covered evenly.
000_1121

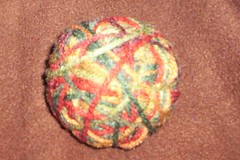
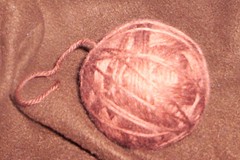
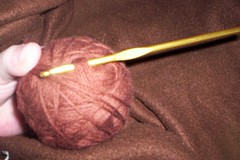
Step Three...securing the tail...using a crochet hook, secure the tail under loops of yarn until there is no more hanging out.
000_1123
000_1125

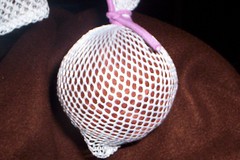
Step Four...preparing for the first felting...tie the completed balls into a lingerie bag or a nylon stocking to keep them from unraveling, and toss in the washer, then the dryer.
000_1127

Step Five...the second felting...remove the ball(s) from the lingerie bag or stocking, and wash and dry again (at this point they will NOT unravel!)
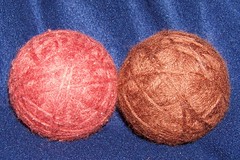
000_0038
The ball on the right has been felted once, the ball on the left, twice.

At this point they do not really need to be felted anymore, but you can repeat step five as many times as you like.

Use in place of dryer sheets (which can diminish the life of you dryer, cause buildup on clothes...especially cloth diapers, or cause allergic reactions for some people). I ended up making 4 of these balls, and they work wonderfully. My clothes and cloth diapers are coming out of the wash fluffier and softer than ever! They work even better than the store-bought variety, and don't have the unpleasant rubber odor!

Another great felting wool is:
Pin It